
Prompt Guides
How to Write Midjourney Prompts That Actually Look Cinematic

Dhananjay Kumar Nirala
On this page 8
Cinematic Midjourney prompts aren't about adding the word "cinematic" and hoping for the best. That single word is too vague, so the tool gives you an average result. The images that look like film stills are built on purpose, with the light, the camera, and the mood all spelled out.
The good news is that there's a clear formula behind that look, and once you see it, you can repeat it. You don't need to be a photographer. You just need to name a few things most people leave out, in an order Midjourney understands.
This guide covers what actually makes an image feel cinematic, a simple formula you can reuse, the parameters worth knowing in the current version, and a set of prompts you can copy and adjust. Midjourney runs on version 8.1 as of mid-2026, and everything here works with it.
What makes a Midjourney prompt look cinematic
A cinematic image isn't one thing. It's a few choices stacking together to feel like a frame from a film instead of a snapshot. Once you know what those choices are, you can add them on purpose.
Controlled light, not bright light. Films rarely light everything evenly. They use one main light, deep shadows, and a soft glow on the edges. Naming that light is what sells the look.
A shallow, focused frame. Cinematic shots often keep the subject sharp and the background soft. This comes from naming a lens and a wide aperture, which the tool reads as a film-style depth.
A color grade. Movies have a deliberate color tone, like teal-and-orange or a cold blue night. A flat, neutral image looks like a photo, while a graded one looks like a scene.
Mood and story. A cinematic frame feels like a moment in something larger. Adding a mood, like tense, lonely, or hopeful, points the whole image in one direction.
Spell these out instead of relying on the word "cinematic," and the result changes right away. The next sections turn each one into something you can type.
The cinematic prompt formula
Most cinematic Midjourney prompts follow the same order. Build your prompt in these five parts and it holds together every time.
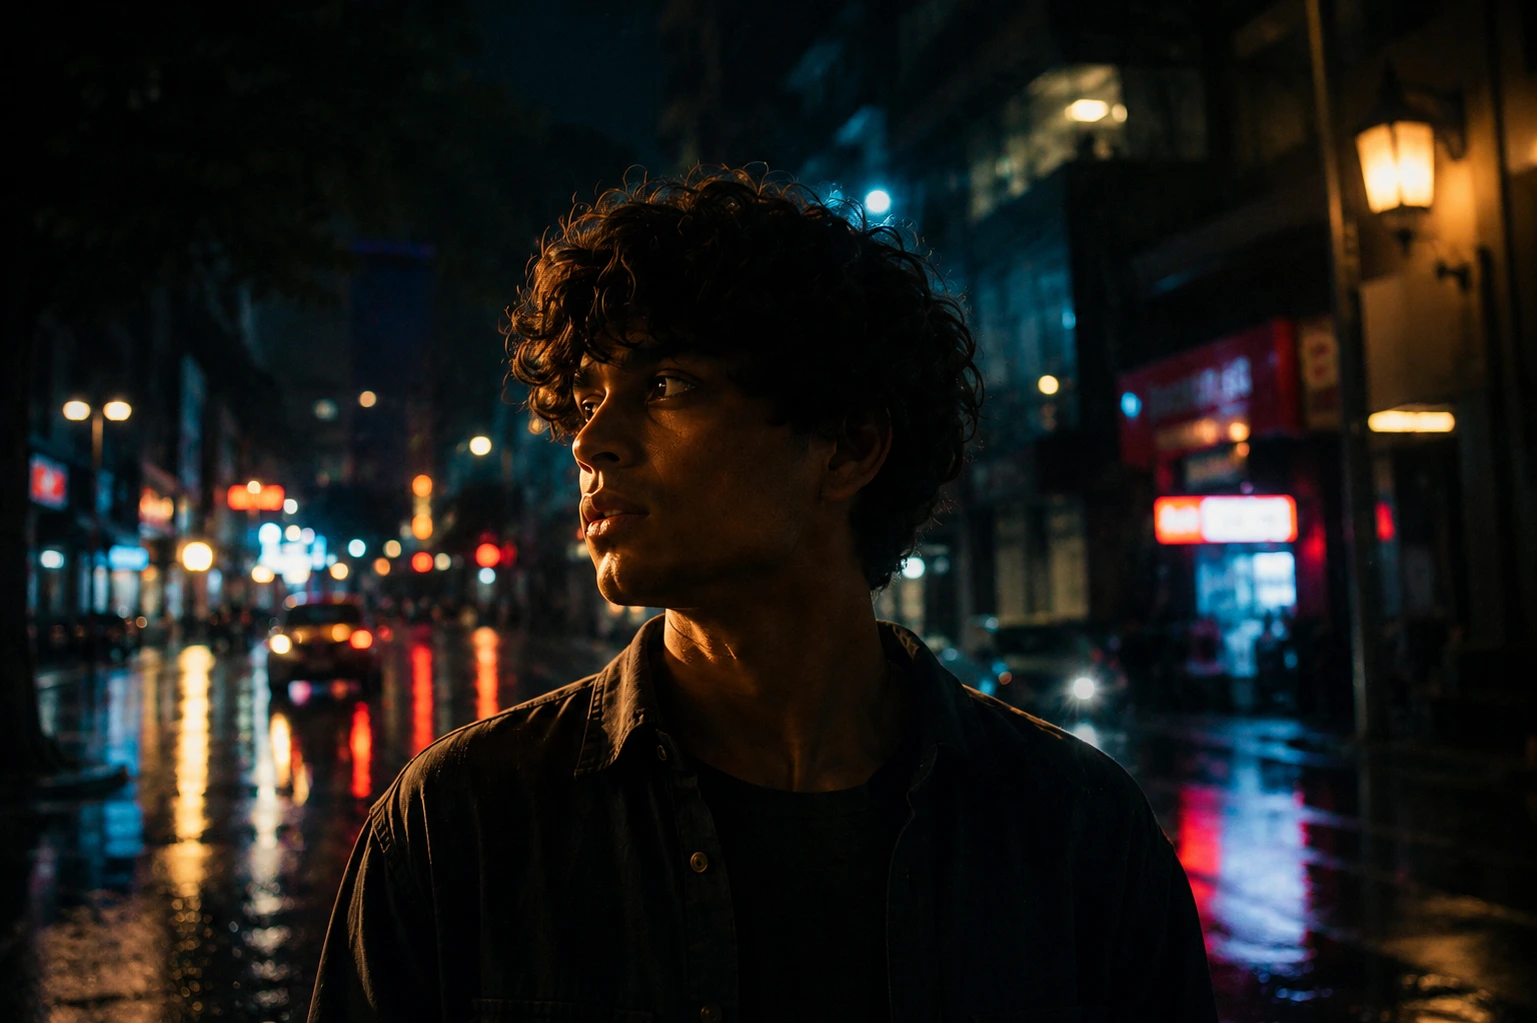
Subject + Environment + Lighting + Camera/Film + Parameters
Subject: who or what the shot is about. "A lone traveler in a long coat."
Environment: where they are, with a few telling details. "On an empty train platform at night, wet ground, distant neon signs."
Lighting: the most important part, covered next. "Single overhead light, hard shadows, soft haze."
Camera and film: the lens and film look that create depth and texture. "Shot on 35mm film, 50mm lens, shallow depth of field."
Parameters: the settings at the end. "--ar 16:9 --raw."
Put together, it reads as one line:
A lone traveler in a long coat on an empty train platform at night, wet ground, distant neon signs, single overhead light with hard shadows and soft haze, shot on 35mm film, 50mm lens, shallow depth of field, cold blue color grade --ar 16:9 --raw
This is the same idea as any strong prompt, just shaped for images. If you want the basics behind it, see our guide on writing a good AI prompt.
Light it like a film (the biggest lever)
If you change one thing about your prompts, make it the lighting. It does more for a cinematic look than any other detail, and it's the part most people skip.
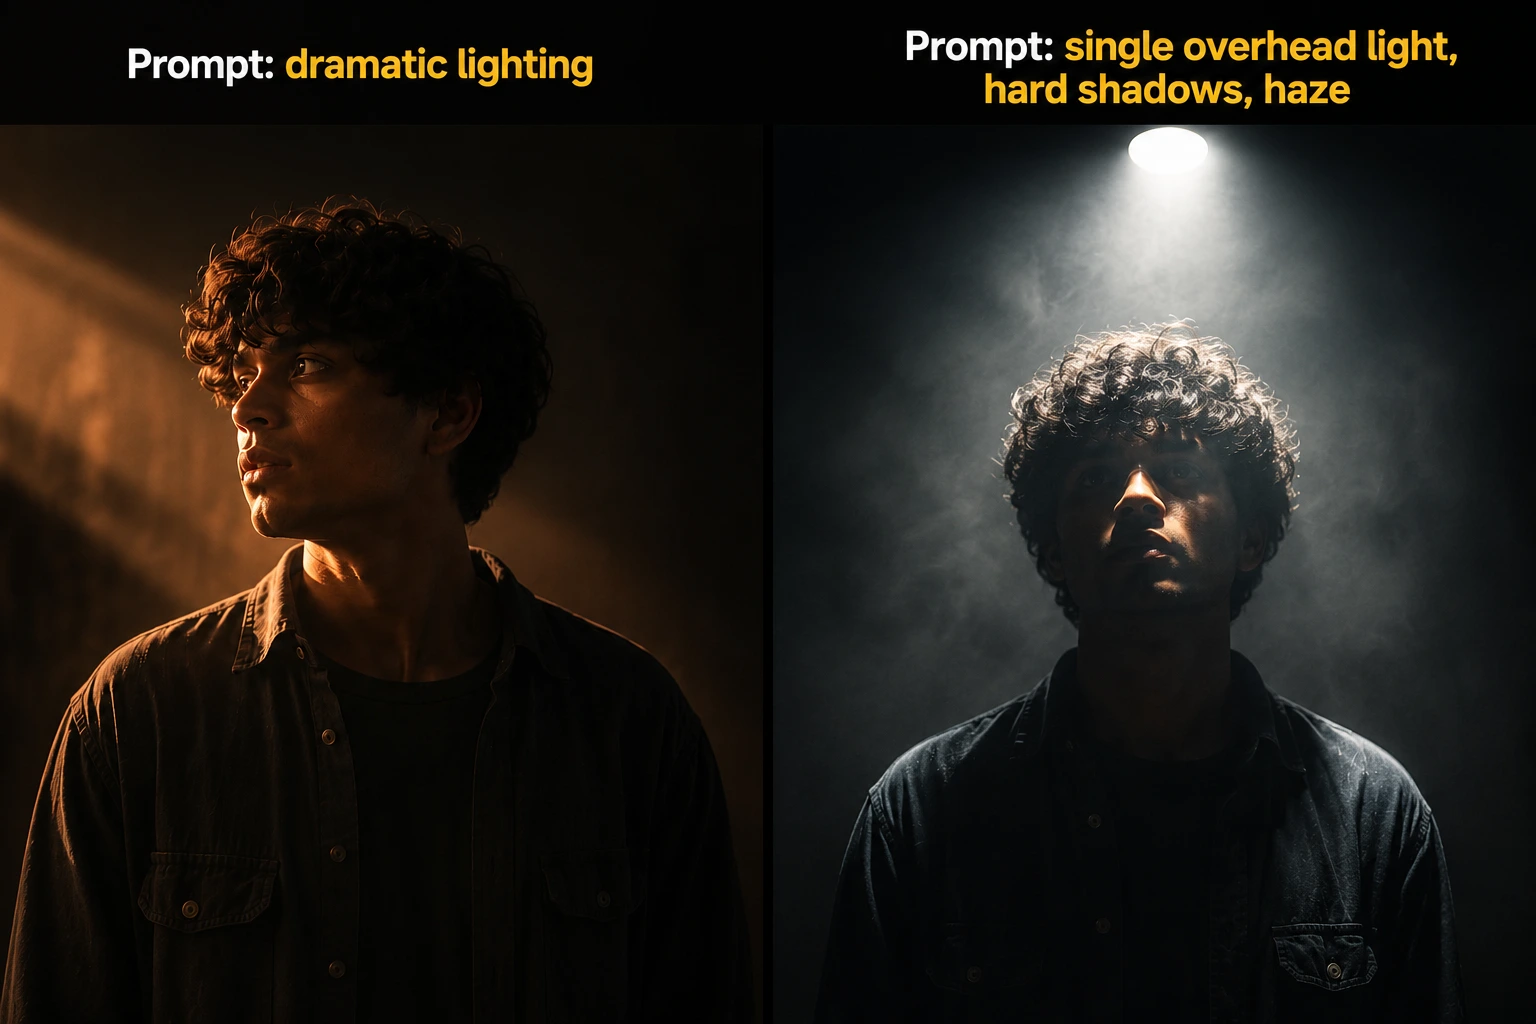
Name where the light comes from. "Single overhead key light," "low side light," "backlight through a window." A clear direction creates shape and shadow, which is what flat images are missing.
Say how hard or soft it is. Hard light gives sharp, dramatic shadows. Soft light is gentle and moody. "Hard shadows" and "soft diffused light" pull the image in very different directions.
Add a color and a touch of haze. Light has a color, like warm amber or cold blue. A little haze or fog catches that light and adds depth. "Cold blue light with soft haze" reads as a film scene right away.
Be specific over dramatic. "Single overhead light with no fill, hard shadows" beats "dramatic lighting" every time. The vague version leaves it to chance, while the specific version tells the tool exactly what to build.
Add the camera and film look
After light, the camera details are what separate a film still from a plain digital picture. These two lines add depth and texture.
Name a lens and aperture. A lens choice tells the tool how to frame and blur. "50mm lens, f/1.8, shallow depth of field" keeps your subject sharp and melts the background, which reads as cinematic.
Call out a film stock. Asking for real film instantly removes the flat digital look. "Shot on 35mm film" or naming a stock like "Kodak Portra 400" adds grain and natural color the tool copies.
Borrow a cinematographer's name. Referencing a known style anchors the whole image. "In the style of Roger Deakins cinematography" points Midjourney at a specific, moody film look without you describing every detail.
Match the frame to a movie. A wide 16:9 or 2.39:1 ratio feels like a screen. Set this with a parameter, covered next, so the shape supports the cinematic feel.
The parameters that matter
Parameters are the short settings you add at the end of a prompt. You only need a few for cinematic work.
--arsets the shape. Aspect ratio decides the frame. Use--ar 16:9for a widescreen feel or--ar 2.39:1for a true film look. A wide frame alone makes an image feel more like a movie.--rawturns down the gloss. By default, Midjourney adds its own polish. Adding--rawfollows your prompt more literally, which helps when you want a realistic, film-style result instead of a stylized one.--stylizecontrols artistic freedom. Written as--s, it runs from 0 to 1000. Low values stick close to your words, high values let the tool get creative. For cinematic realism, a lower number keeps things grounded.--noremoves what you don't want. This is negative prompting. "--no text" or "--no people" tells the tool to leave those out, keeping the frame clean.
A quick note on version. Midjourney runs on V8.1 as of mid-2026 by default, so you usually don't need to set the version. If you ever need an older model, you can add --v with the number.
Copy-paste cinematic prompts
Here are four prompts built on the formula. Paste one into Midjourney, then change the subject or color grade to fit your idea.
1. Night street scene.
A lone traveler in a long coat on an empty city street at night, wet pavement, distant neon signs, single overhead light with hard shadows and soft haze, shot on 35mm film, 50mm lens, shallow depth of field, cold blue color grade --ar 16:9 --raw
2. Cinematic portrait.
Close-up portrait of an older fisherman, weathered face, sitting by a harbor at dawn, soft side light with warm amber tones, light haze, shot on Kodak Portra 400, 85mm lens, f/1.8, in the style of Roger Deakins cinematography --ar 2.39:1 --raw
3. Wide landscape shot.
A small cabin in a vast snowy valley at blue hour, low ambient light, cold blue and soft pink sky, faint mist, shot on 35mm film, wide-angle lens, deep focus, muted cinematic color grade --ar 2.39:1 --raw
4. Moody interior.
A woman reading by a window in a dim room, single soft light from the window, deep shadows, dust in the air, warm muted tones, shot on 35mm film, 50mm lens, shallow depth of field, quiet and lonely mood --ar 16:9 --raw
To make these yours, swap the subject, change the color grade, or try a different film stock. For more looks to start from, browse the free image prompt library.
Conclusion
Cinematic Midjourney prompts come down to being specific where it counts. Name the light, add a lens and a film look, set a wide frame, and let a color grade carry the mood. The word "cinematic" does almost nothing on its own, but those details do the real work.
Start with one prompt from above and change a single part, like the light direction or the color grade. Run it, compare, and adjust. After a few rounds you'll have a feel for which details move the image most, and lighting will almost always be the answer.
If Midjourney's subscription isn't for you yet, our comparison of ChatGPT, Gemini, and Midjourney shows free options that still give strong results.
FAQ
Community
Comments
Sign in with Google to join the discussion.
No comments yet. Be the first to share your take.